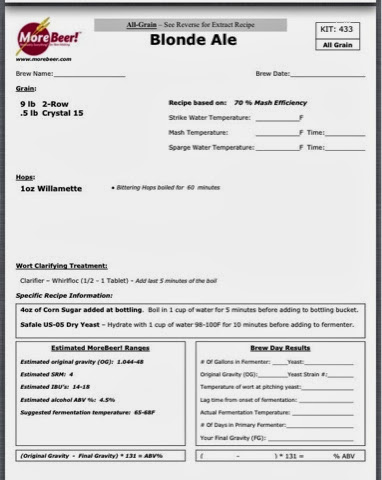
It's been a long time and it's brew day once again, boys and girls! Today we'll be brewing up the Blonde Ale all grain kit from MoreBeer!
We're going to partigyle this sucker for two totally different beers. Our brewing process today will consist of a thick brew in a bag mash to produce about 2.5 gallons of high gravity wort followed by a sparge step to collect about 4.5 gallons of a weaker wort.
Let's talk briefly about this recipe. MoreBeer's website says "A Blonde Ale is a great starter beer for those who are new to craft beer. An easy drinking ale, low in esters, balanced with enough hop character to accentuate the malt profile. We brew this beer for big party events."
Well today we are going to be producing one beer similar to that description. Because we are "sacrificing" some of the Blonde Ale's gravity for our Barleywine, our numbers wont necessarily match with MoreBeer's. Original gravity for the Blonde Ale is estimated to be around 1.040 for an estimated ABV of about 4%.
Our small batch of high gravity wort will be an American Barleywine. Original gravity is estimated to be 1.107 for an estimated ABV of around 10.50%. Big.
Now, if I haven't already changed the recipe up enough (more like threw it out the window), I decided to make a few more minor changes. First, I'll be adding half a pound of corn sugar to each batch. For the Blonde Ale, this will bump up the ABV slightly. For the Barleywine, it will help dry out the finished beer.
Also, to add a little more hop character to the Blonde Ale, we will move its single bittering charge of Willamette to a first wort hop addition. For the Barleywine, I scrounged up half an ounce of Cascade, which we'll also add as a first wort hop addition just for fun.
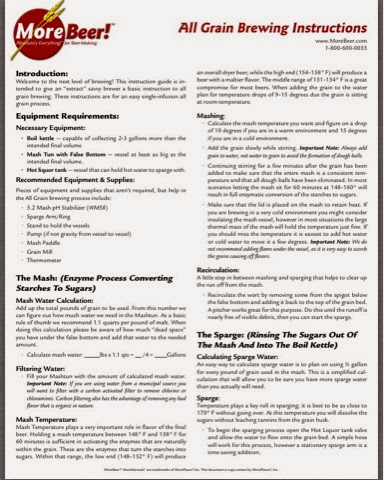
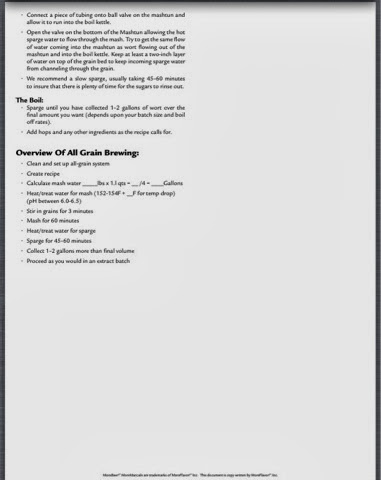
The kit also ships with a pretty detailed all grain instruction sheet, which might be handy for brewers who bought the kit or received it as a gift without knowing much about the all grain process. I would still recommend at least doing some online research on the process and how it can be adapted to work for your specific needs.
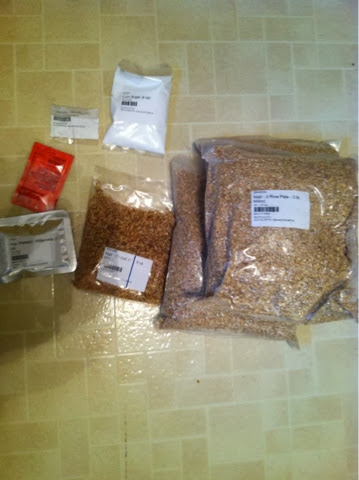
MoreBeer mills the grain by default and packages it in separate labeled plastic bags. I personally don't have the space for a mill and extra buckets, so I just order my grain milled. The mill on this particular grain was quite good. Although until I mill my own grain, I definitely can't complain.
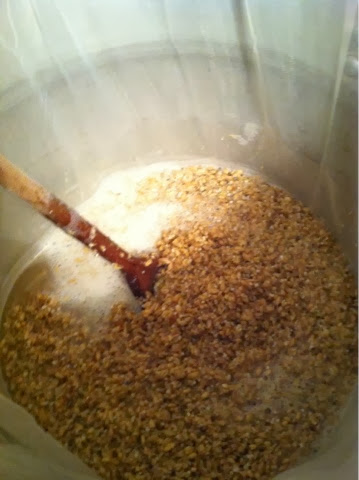
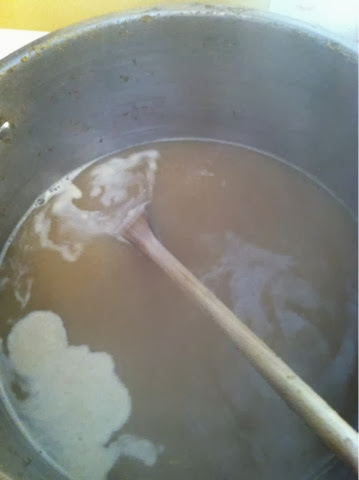
So after filling our big mash pot with only 11 quarts of water, we doughed in our total of 9.5 pounds of grain. This comes out to be about 1.16 quarts per pound, which is definitely on the thick side. However, we're shooting for a specific volume, here.

After our 60 minute long mash, we lifted the little grain bag out and let it drain to bring us to our pre boil volume of about 2.5 gallons of super sweet wort.


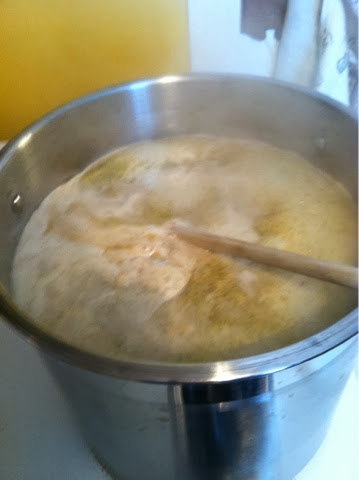
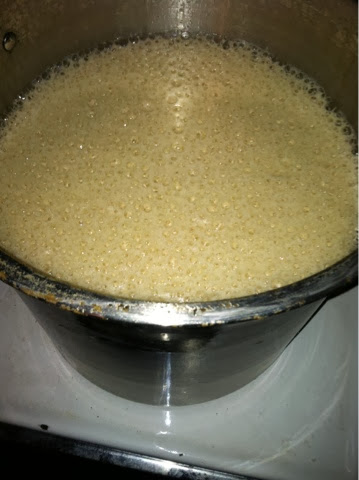
In go our first wort hops into both pots. Due to the lower volume of the Barleywine, it started boiling first. There's nothing left to do except clean up and watch at this point.
Now that both 60 minute boils are over, we simply pop the lids on and make a seal with some plastic wrap. the wrap will shrink and "suck in" as the wort cools.
It's now the morning after we brewed and our wort is nice and cool. We'll aerate by shaking the pots and then we'll pitch our soldiers into battle. Then the lids will go back on for fermentation.

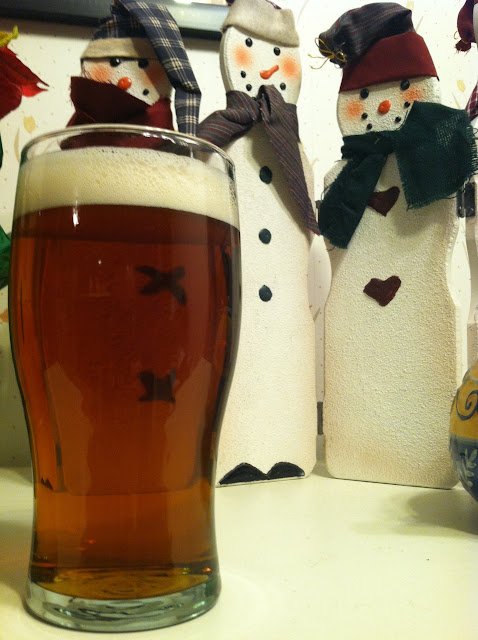
Let's get down with some tasting notes.
Blonde Ale
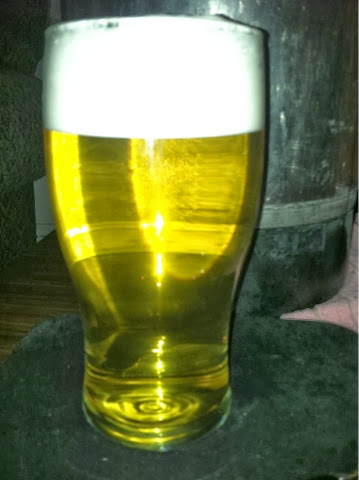
Appearance
Pale yellow
Crystal clear
One finger head dissipates to a medium collar
Aroma
Very light grainy aroma
Very light grassy/earthy
Taste/Mouthfeel
Light bread followed by grassy/earthy hop character followed by slight bitterness
Clean tasting and refreshing
Barleywine
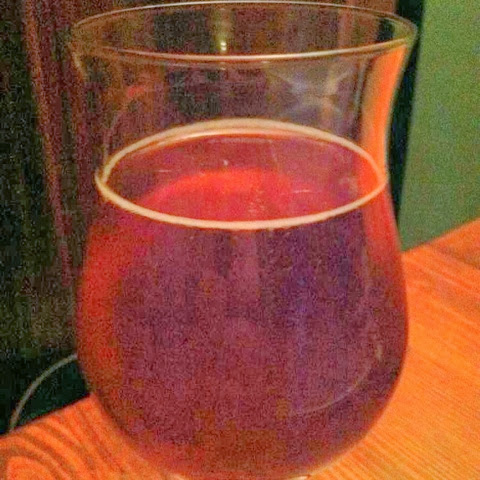
Appearance
Rich amber
Surface haze reducing to collar
Hazy but not murky
Aroma
Sweet grain, subtle alcohol, subtle fruit
Taste/Mouthfeel
High malt sweetness, slight fruitiness, slight bitterness, and alcohol warmth but no harshness
Very smooth
Very silky texture
Overall
Very interesting and enjoyable high gravity beer with a 10.5% ABV that is very well hidden
Among the most approachable high gravity beers I've ever had