Wednesday, July 21, 2010

Home Smoked Malts

Here's a primer on how to smoke malts. This process worked well for me but like skinning a cat it's far from the only way to do it properly. The most important aspects of the process are simple as is the whole process.

Important Items:
• Moisten/soak the malts in cool water.
• Build a small smoke source as avoiding cooking the malt is very important.
• Smoke according to your tastes. If you enjoy heavily smoked foods, go heavy, if not smoke lightly.

The Process:
• Measure out the desired weight of base malt. There will be no weight loss/gain during this process.
• Soak the malt for 15-30 mins in cool water.
• While grains are soaking start a small fire in your grill using 8-10 charcoal briquettes. If at all possible do not use lighter fluid to start the briquettes.
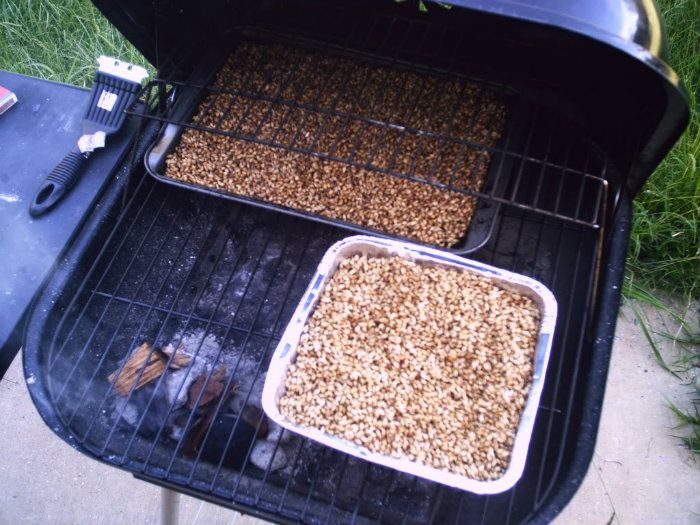
• Scoop grain out of water and place in aluminum pan. I used brownie pans which were great.
• Place chunks of your favorite wood onto the small mound of charcoal and place pans on grill, close lid.
• Keep a careful watch on the grill to ensure it is smoking.
• Open the lid on the grill every 15-25 minutes to stir the grain, stir well.
• Any time the grill stops smoking, adjust the wood/fire to produce smoke. This is an important step to keep your time to a minimum and gauge the correct amount of smoke you want.
• Once the malt has reached a level of smokiness, 20 mins to 2+ hours, remove the grains from the grill.
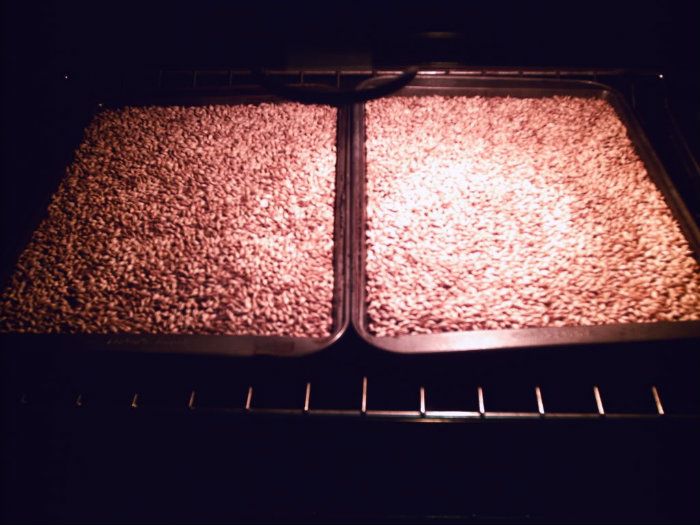
• Spread the moist grains out on cookie sheets and place in the oven on lowest setting, under 200 F.
• Stir the grains every 10-25 minutes, more frequently as the grains get drier.
• Once dry, allow to cool and place in a good quality storage bag.
• It's VERY important to allow the malts to rest before using for at least 2 weeks, preferably a little more. This allows the smoke character to mellow avoiding harshness.

That's the whole process. It looks like a lot, but it's SUPER simple as the most work is building a tiny fire & stirring grain.

Pictures of the process
Sorry for the poor pic quality - my fault and sorry for pics being the wrong size - photobucket glitch.
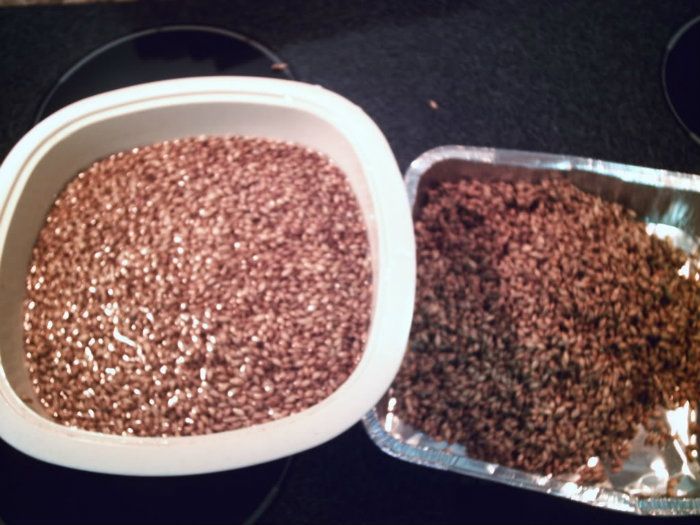
Smoke Malt - Soaking the grains
Grains being moved from the soaking to brownie pans for smoking.
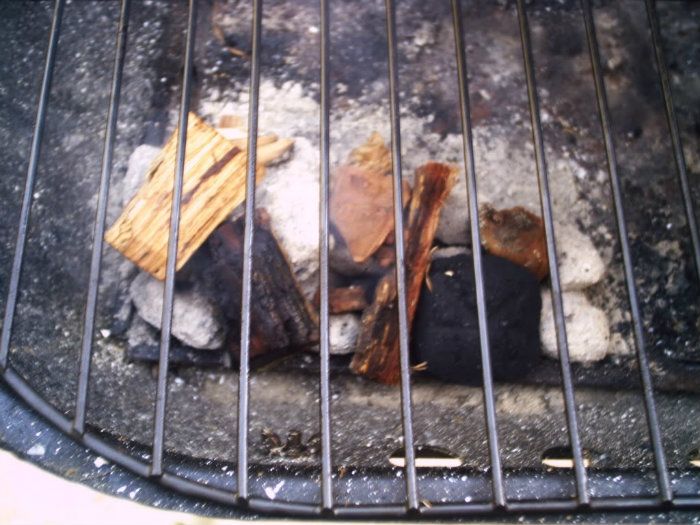
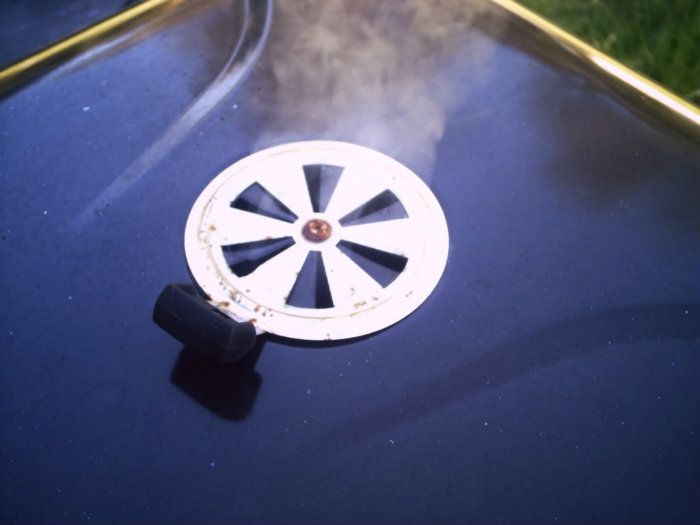
Smoke Malt - Thars the smoke source!
The small fire/smoke source.

Smoked Malt - Start smoking
Grains on the grill.

Smoke Malt - There's grain in there!
Smokem if ya got'em!

Smoke Malt - Curing @ 200 degrees for 1 hour
Smoked malts drying in the oven.

Illudium PU-36 Smoked Porter

Having never done a porter recipe before I wasn't sure what I'd get out of this. I got my original inspiration from a Bert Grant's Porter clone recipe posted in the recipe section at homebrewtalk.com. I changed it slightly to fit my taste and malts available. It's still young, but this bier is a homerun. What makes it so good is the quality of the base bier. It's not fully carbonated yet and I can't pass final judgement for a while, but early on it's certainly among my best efforts. It has the perfect balance of rich maltiness, Schlenkerla like smokiness with a touch of hickory flavor, and bitterness. It's possibly the best balanced bier I've ever brewed. The smoke isn't near as strong as Schlenkerla and is derived from homemade smoked malts. As it turns out it's a very easy process. I'll post an entry on that later.

Stats

OG 1.057
FG 1.016
SRM 28
IBU 25 (taste more like 35, used Rager formula)
BU:GU .44
ABV 5.5%
189 Calories per 12 oz.
Mash Efficiency 85%

Malt and Fermentables

% LBs OZ Malt
61% 6 4 British Pale (Maris Otter)
19% 2 0 Smoked Malt (homemade)
7% 0 12 American Crystal 80L (homemade)
5% 0 8 American Chocolate
3% 0 5 Flaked Wheat
2% 0 4 Black Patent Malt
2% 0 4 Pale Chocolate Malt

Hops

boil 60 mins 1.0 Willamette pellet 4.8AAU
boil 15 mins 0.5 Willamette pellet 4.8AAU

1st Yeast - Edinburugh (which started slow)
2nd Yeast - Nottingham Dry

Saturday, July 3, 2010

Bigfoot 2010 'Finally' Captured

In most places and to most people Bigfoot is an afterthought, not so for me and thousands more like me who live in states with laws repressing the selection certain higher alcohol biers. I only began 'getting into' craft bier in 2007 or so. Sure I had always sought out more flavorful offerings even 15 years ago during college when I'd most often opt for Killians Red, Rolling Rock, or plain ole Budweiser rather than going in for the 'light' biers that dominated the coolers of my classmates.

I believe it was actually 2007 when I first had Bigfoot, a bier the likes of which had never tasted before. It was a 'one hit hook' of sorts and now I annually either pick up a couple sixers or have a friend do it from a neighboring state where the bier is available. In my meager cellar (aka a box or 2 in the closet) I now have 2008 - 2010 Bigfoot editions. When I get the 2012 edition I'll probably host a 5 Year vertical tasting of this classic American Barleywine.

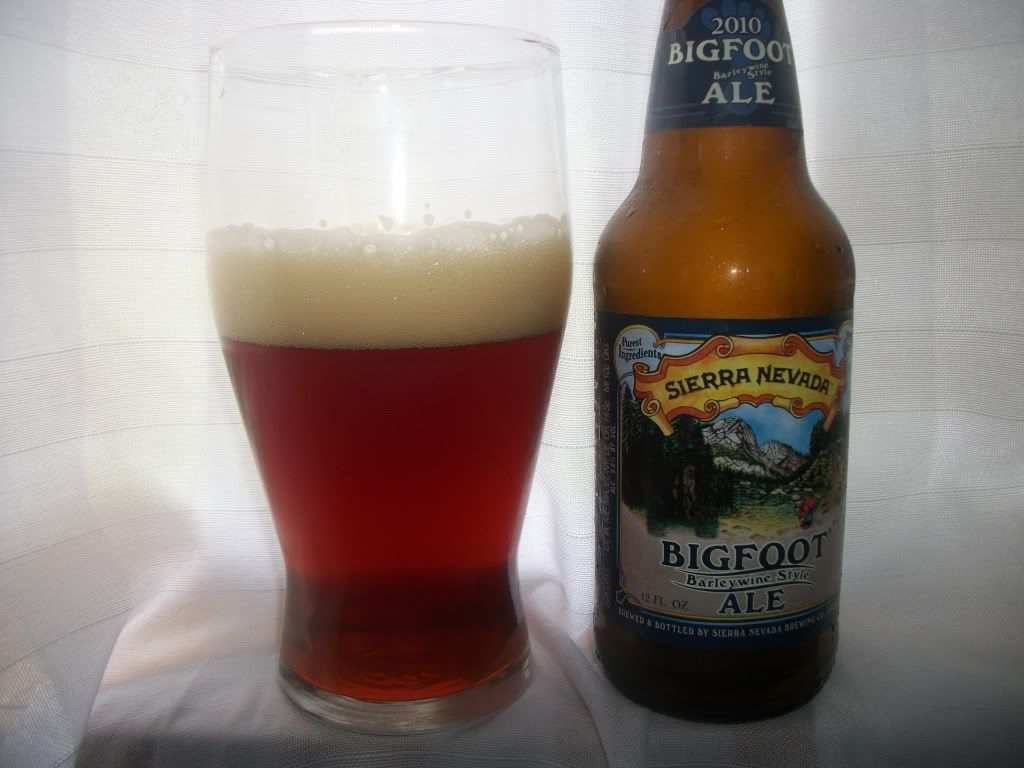
Here's a pic or 2 and a brief review of this year's installment of Bigfoot.

Heavenly Bigfoot 2010
A heavenly aura surrounds this sainted bottle o'ale!

I found the 2010 Bigfoot seems a bit larger than in years past. What I mean is that it's quite hoppy & bitter but also seems to push more malt backbone forward. It seems quite similar to last years version but I would say more bitter hop centered than 2009 Bigfoot which had more flavor/aroma hopping. Since I've been drinking Bigfoot for 4 years now and have had 4 or 5 editions I'd put the 2010 version at the bottom of that list. However it's still a VERY fine bier with tons of upside, complexity, & definitely a must have every year. I'm sure it will age very nicely and I look forward to having it in the coming years as it improves. Note the lacing was exceptional in this years version.

Bigfoot
Move over Rolling Stones because Bigfoot is 'Satisfaction' in a bottle!
Related Posts Plugin for WordPress, Blogger...